
How to Create a Linked In Profile?
We all know that showing up online in 2026 is more important than ever! Which is why I want to help guide you through the simple steps of creating some social media profile pages that will make sure that you are indeed online for your clients. If you missed them, the last two weeks, we’ve talked about how to create a business Facebook profile and how to create an Instagram Business or Creator account. This week we are going to be discussing how to create a business Linked In profile.
As usual, let’s talk some statistics and fun facts about Linked In first. Linked In was created by Reid Hoffman, and launched fully in early 2003, meant to connect professionals to increase productivity, connectivity, and economic opportunity. In 2004, Linked In reached 1 million users and it became a public resource in 2011. In 2016 it was acquired by Microsoft for $26.2 billion. The Linked In Mission statement it simple, but powerful “Create economic opportunity for every member of the global workforce”. And since then it has accomplished this mission over and over. As of late 2025, Linked In has 1.1 billion registered users, and an average of 310-350 million users visiting the platform every month (MAU).
Like Instagram and Facebook, Linked In is such an important platform to be on, especially if you are a B2B business. B2B stands for Business to Business. Meaning that businesses are selling to other businesses rather than selling to your average consumers (referred to as B2C or Business to Consumer). As of 2025 there are over 69 million companies and organizations with active accounts on Linked In. This is incredibly significant as Linked In has become an important bridge to creating more B2B transactions over the last few years. So if you are a business that sells to other businesses, you need to get on Linked In, like yesterday! If you aren’t yet on Linked In, are a little intimidated by it, or just haven’t had the time to figure it out yet, I urge you to keep reading, and make sure to set up your Linked In profile after! It should only take you 10 minutes.
Linked In Setup
-
Linked In Setup -
Start Here:
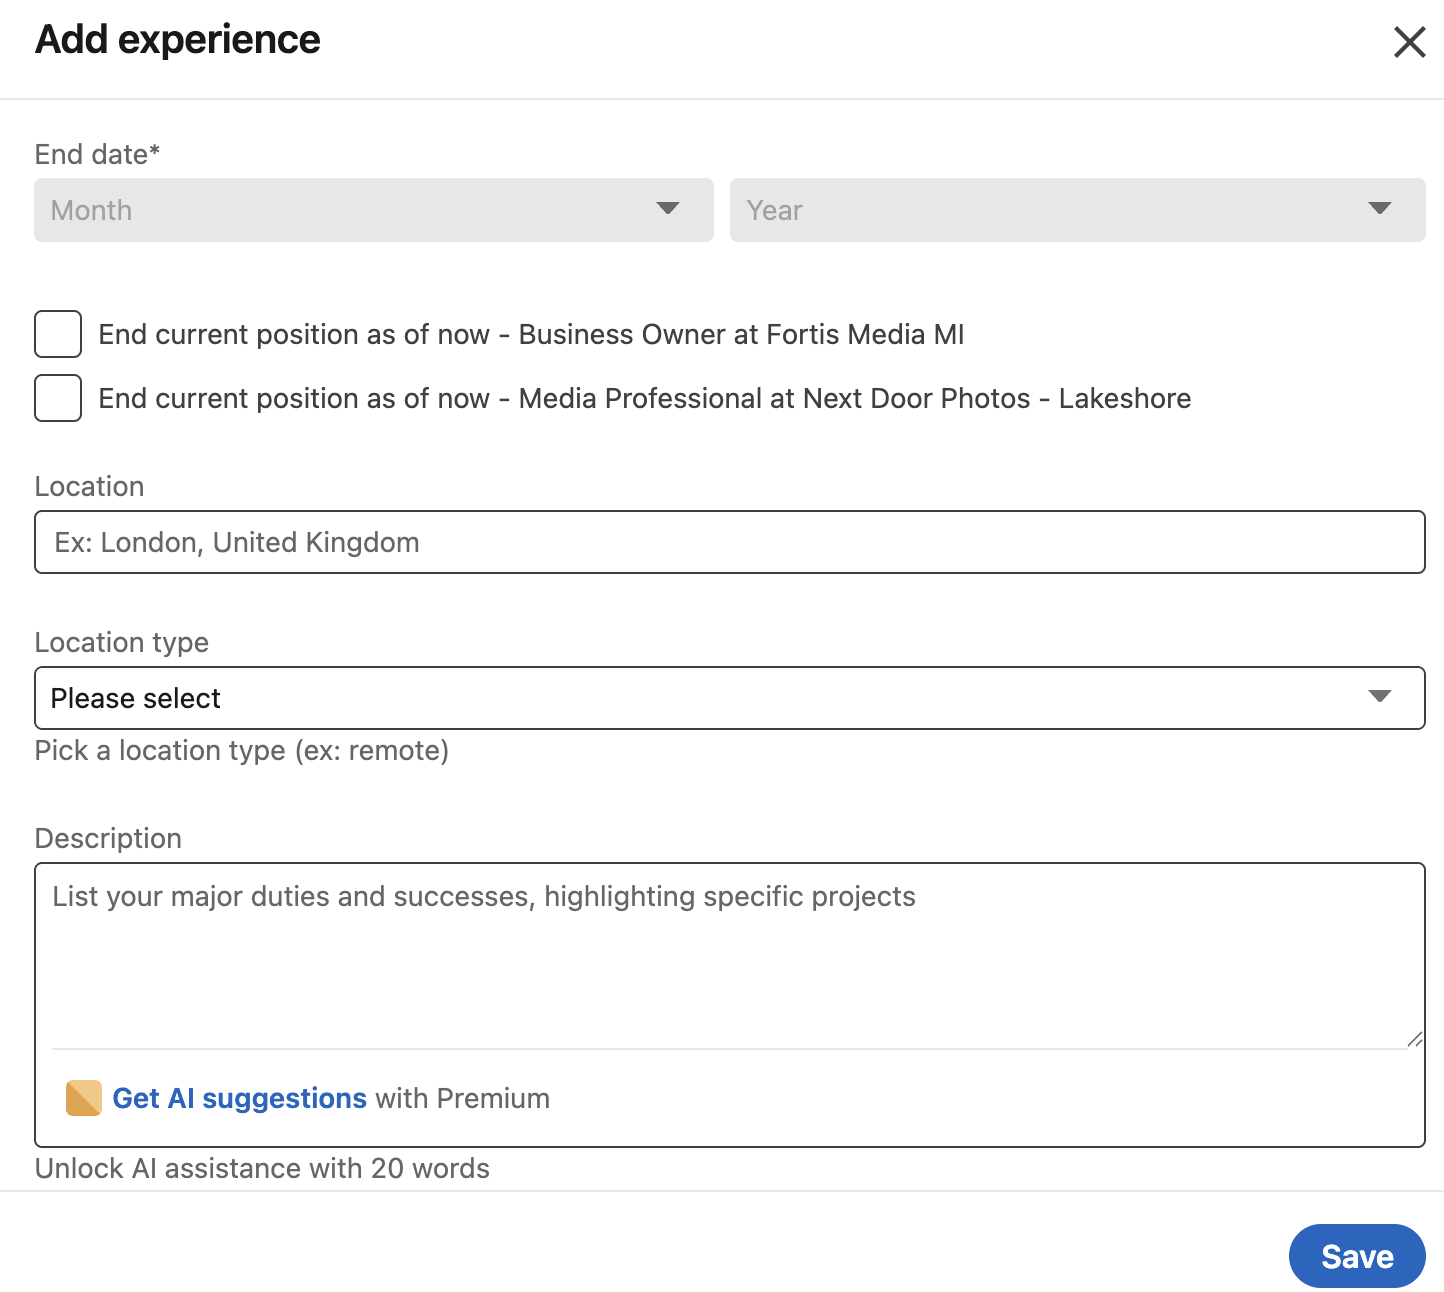
First step is to head to linkedin.com of course, and login to an existing account or create a new account. Once you have signed up you will be able to add a profile photo, a biography description, and add places you have worked (experience), your education, your skills, and your licenses and certifications!
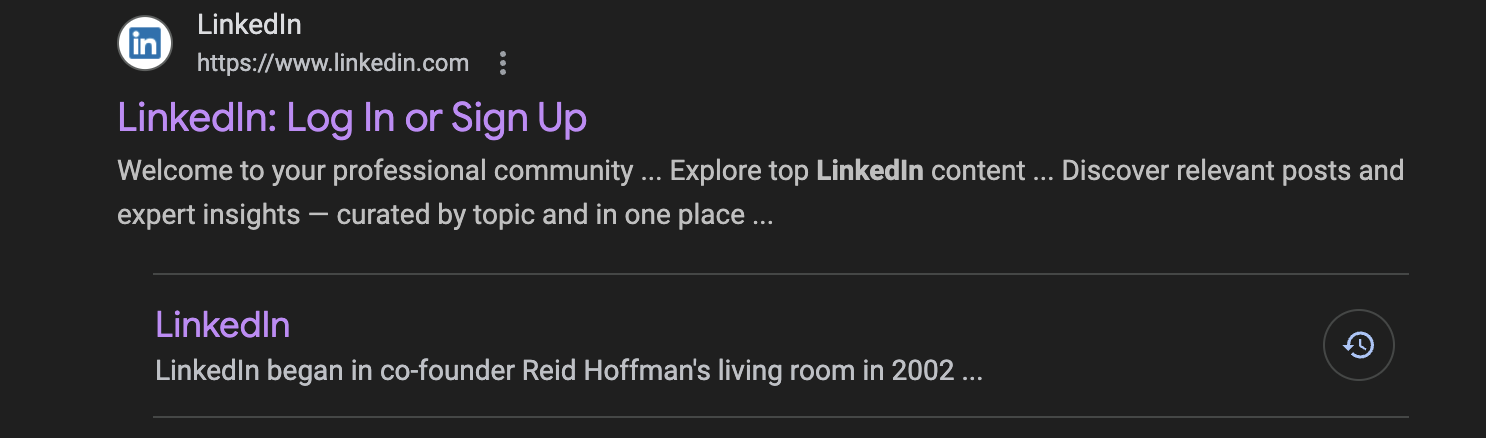
Go here to Sign up!
Sign Up for Linked In: linkedin.com
Next up, it is important to note that you cannot create a Linked In business account unless you have a personal professional profile on the platform. You also have to verify your ID using a photo license of some sort and use the Clear site to confirm your identification. This step is a pretty simple and easy step as long as you have a picture ID handy. Once your personal account has been created, you’ll want to go to the “For business” button at the top right (if you are viewing on a computer) and click on that. Then you’ll click on the “Create a Company Page +” button. From there follow the steps that Linked In walks you through to set up your page.
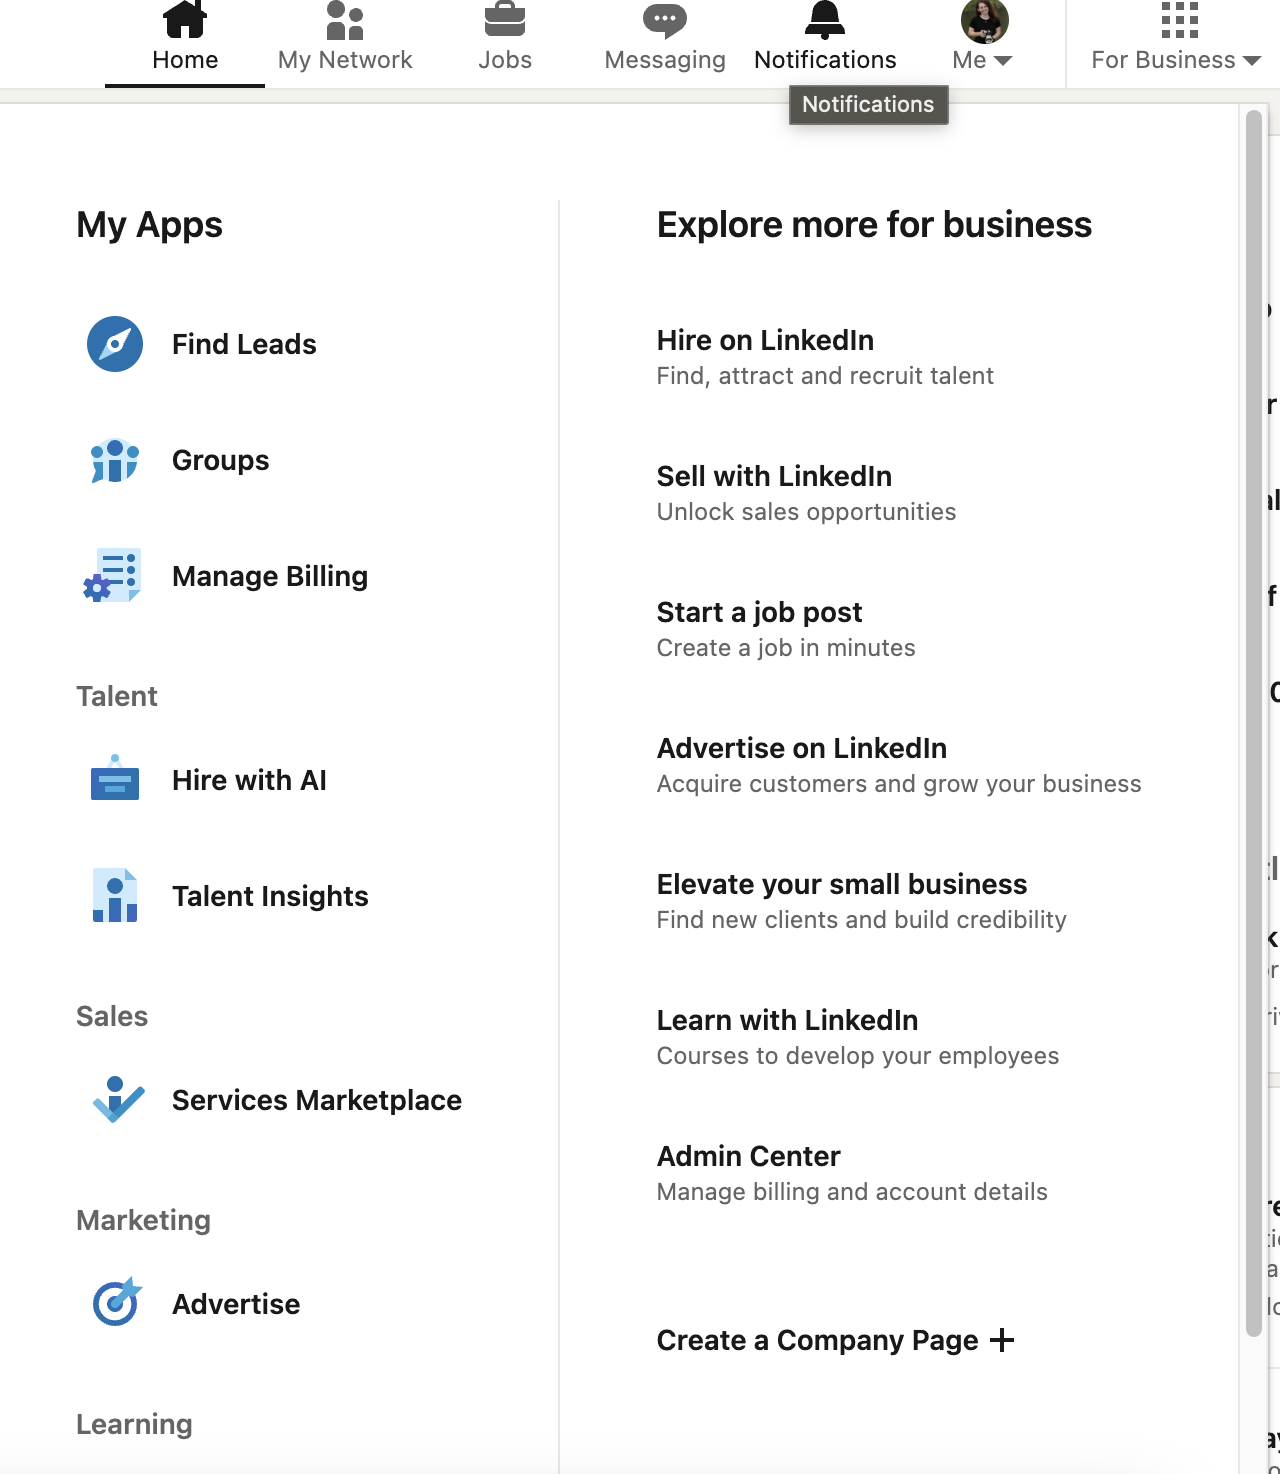
Click on the “For Business” button
Click “Create a Company Page +” at the bottom!
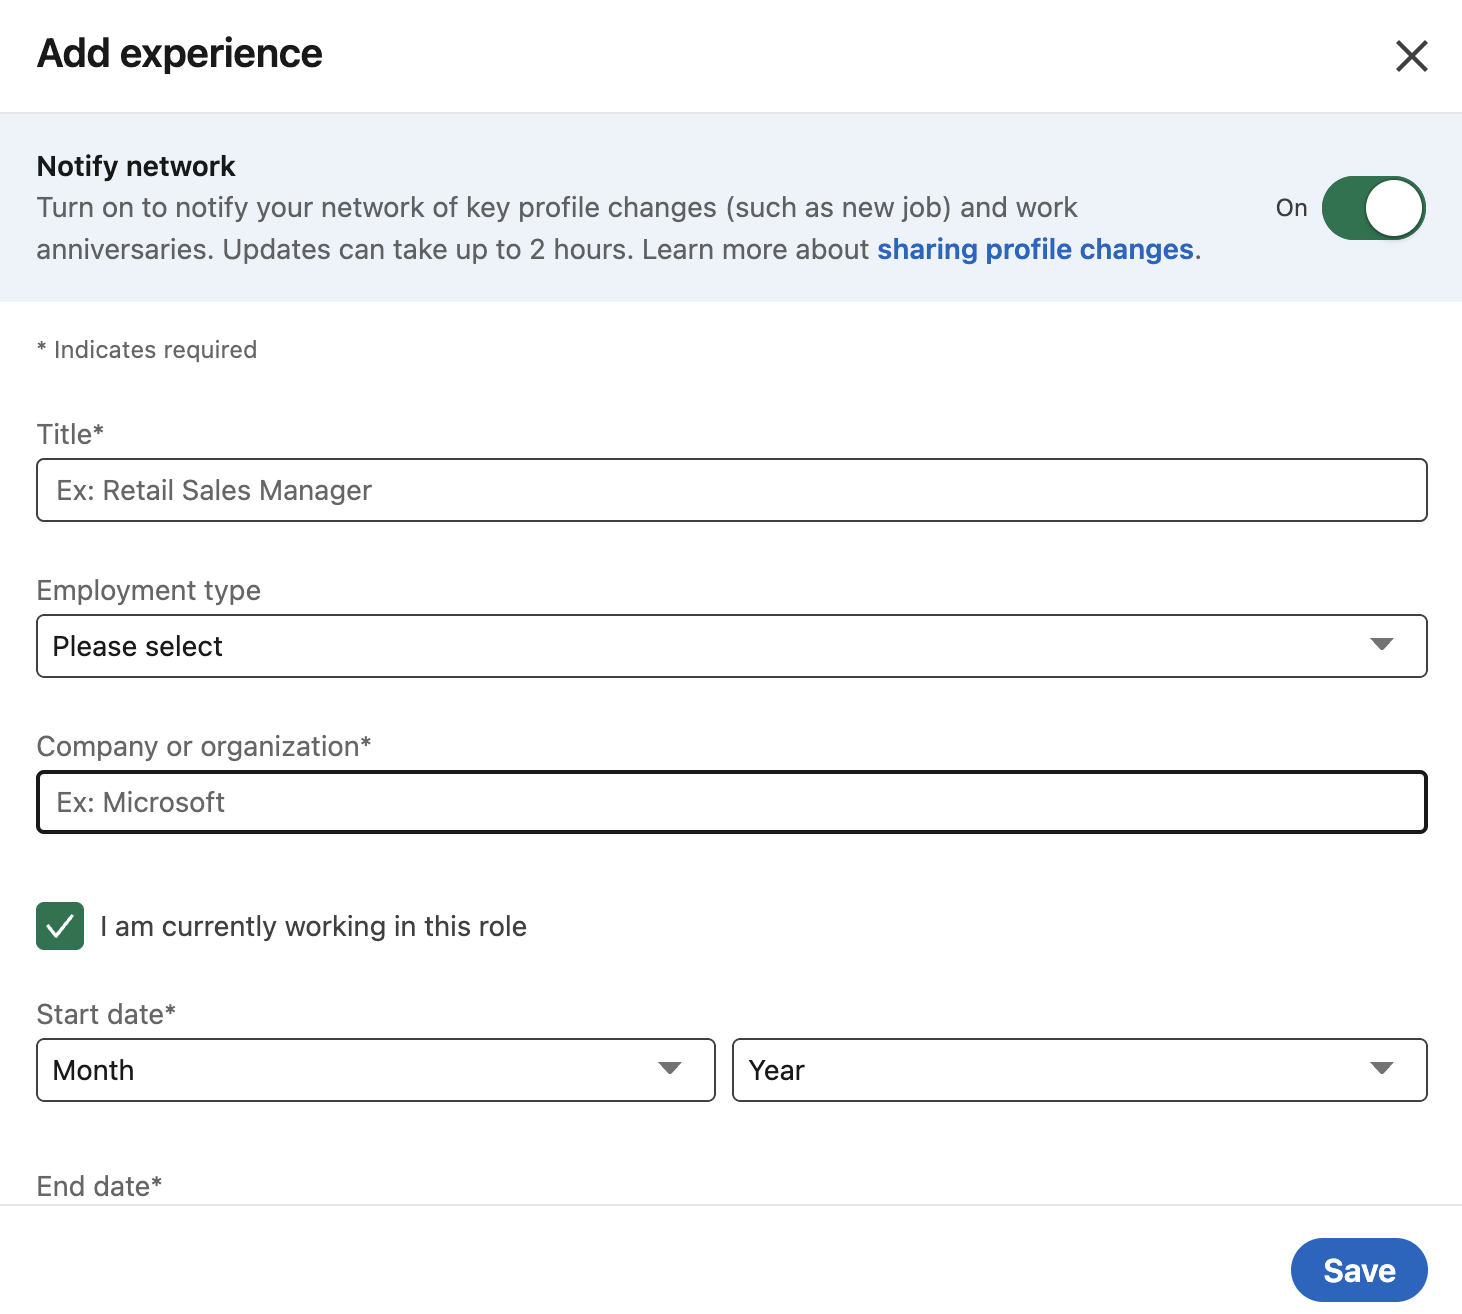
After your company page is set up you’ll want to make sure to connect your personal Linked in page to your Business. To do that follow these steps:
Go to your profile.
Scroll to “Experience”
Click the “+”
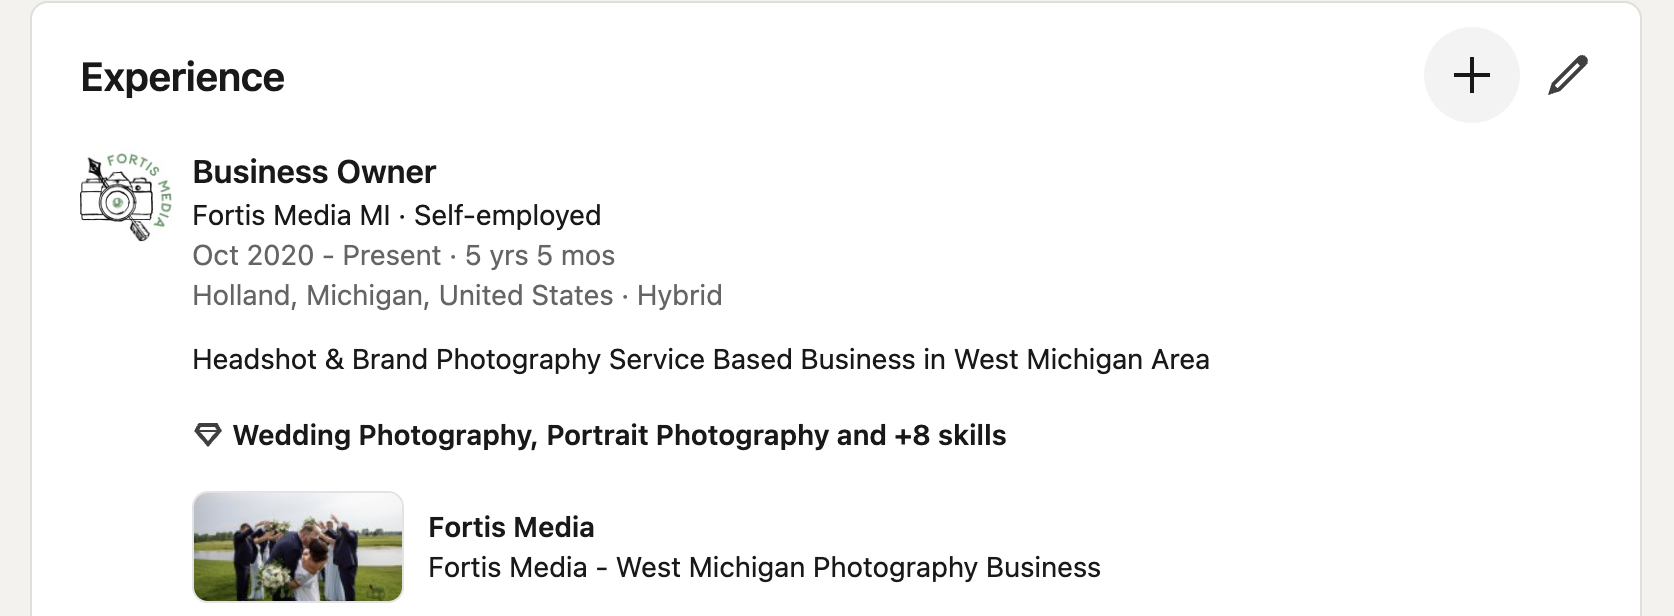
4. From there you will be able to add as much or as little information as you want to your profile about your business.
One of the ways that I try to stay consistent on Linked in is by reposting my blog content in short little bits here and there! This keeps me from having to “re-invent” the wheel when it comes to content. I already have so much content circulating on Instagram, Facebook and my Blog. So I typically repurpose content and tweak it to work a little better on the new platform I want to put it on. For example this post was a post I originally made on Facebook, but changed it just slightly for Linked In.
Here are some other tips and tricks for getting started on Linked In:
I recommend posting at the very minimum, 3 times a week so that Linked In sees your posting regularly and so that it starts pushing your content to your audience.
Remember to engage with your audience if they comment on your content.
Post a variety of content. If you stick to the 3 times a week guide, then do one video post a week, one static post (a post of just word content + an image if you want), and then a post with multiple images and text content. This is what I tell my people in my Business Photo Membership! Creating a variety of content helps to engage your audience who have different content consumption preferences, and allows you to reach different audience demographics without feeling burnt out from posting so much. This way you are simply making sure that your audience knows that you are around still.
In Summary . . .
This blog walks business owners through why Linked In matters and how to quickly set up both a personal and business profile on the platform. It breaks down who Linked In is best for, especially B2B businesses, and explains the simple steps to get your company page live in about ten minutes. You will also find practical tips for staying consistent on Linked In by repurposing content and posting with intention.
join the email newsletter to get these posts delivered straight to your inbox every week